DIY Gel Nails That Last!
*****Click here for an even easier way!*****
*****Click here for an updated post!*****
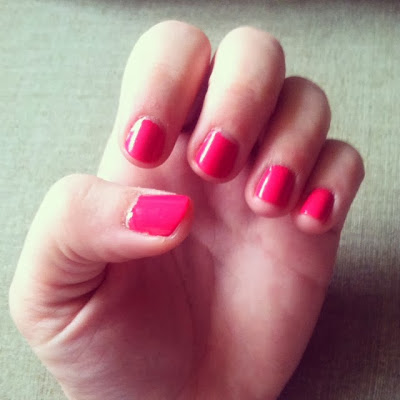
I have an obsession & divine love for nail polish. Seriously, I have about 60 bottles! I paint my toes every 1-2 weeks & my fingernails have to be redone every few days-ish. My biggest frustration with painting my fingernails is that the polish usually chips within 12 hours of painting them. Between changing diapers, washing dishes, constantly washing my hands, light-saber fights, tickle monster sessions, playing outside with my boys & working out my polish really doesn't stand a chance. BUT, I saw a way to do your own gel nails on Pinterest a while ago and decided to finally try it out and guess what, it works! Here are my nails 3 days later:
This is the 3rd time I've used this method & it has worked everytime. I will say that my cheap polish seems to hold up better than my more expensive brands (OPI, Essie & Elle). Here's what you will need:
-Gelous (found at Sally Beauty Supply for about $6)
-Nail polish
-Clear Coat
1. Start by applying 1 coat of Gelous & let dry about 10 minutes. (I prefer 15 minutes)
2. Apply 1 coat of your polish and let it dry completely.
3. Apply another coat of Gelous & let dry.
4. Apply one more coat of polish.
5. Finish with your top coat & voila!
 |
| Best $6 I've ever spent on nail polish! |
 |
| My goodness I am in love with this color! |
p.s. I let my nails dry for 15-20 minutes between coats, this prevents bubbling & smudging.
*Update: These started to chip on day 5 & I repainted them after 7 days. Much better than the usual 1-2 days! I have noticed that some brands just don't last as long as others (usually my cheap polish lasts longer).*


Comments
Post a Comment